
Lead Distribution
How to Connect Your WordPress Forms to a Lead Distribution System
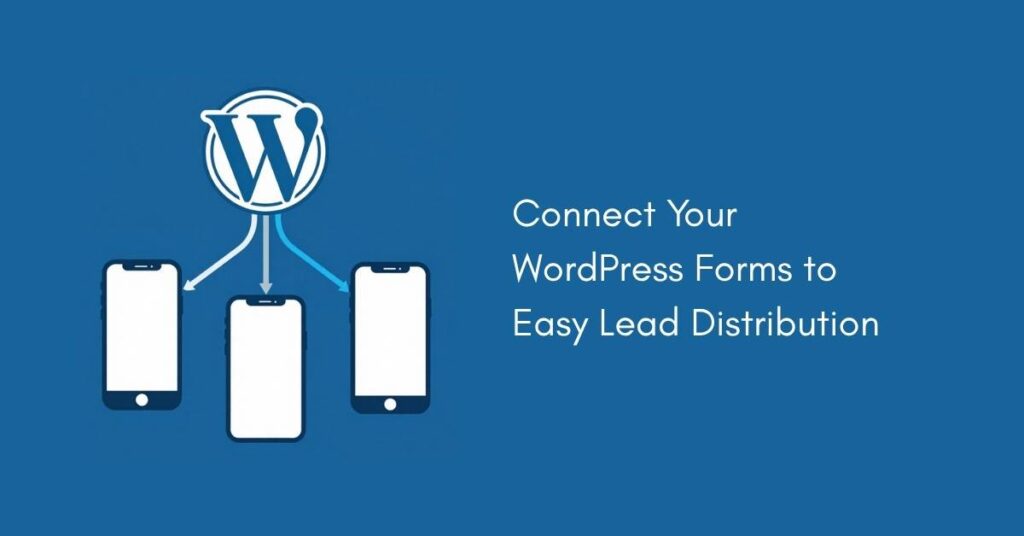
You’ve got your lead gen site live, your forms are capturing leads, and you’ve got buyers ready to pay. Now you need to connect the two — automatically, instantly, with no manual work on your end.
This guide walks you through connecting your WordPress forms to Easy Lead Distribution using the free ELD Forms plugin. The entire process takes less than five minutes.
If you’re new to lead distribution, start with our complete guide to distributing leads from WordPress.
Before You Start
You’ll need two things ready before connecting your forms:
- An ELD account. If you don’t have one yet, sign up for a free trial at EasyLeadDistribution.com/Plans. You’ll need this to create lead flows and get your Flow ID.
- A WordPress site. That’s it. The ELD Forms plugin is a complete form builder, so you don’t need any other form plugin — you’ll build the form itself in the next steps.
Step 1: Create a Lead Flow in the ELD App
Before touching WordPress, create a lead flow in the ELD app. A lead flow is the pipeline that connects a form to your buyers.
Open the ELD app and tap “Define New Lead Flow” on your seller dashboard. Give it a name that describes what it is — something like “Roofing Leads Tampa” or “Auto Insurance CA.” This name is what your buyers will see, so make it clear.
Right below the name, the Connect WordPress Form section shows your Flow ID — a unique code that links your WordPress form to this specific flow — with a one-tap copy button and the short setup steps. Copy the Flow ID. You’ll paste it into WordPress in a moment. The app then waits for the connection, and the instant your form connects, it detects your form’s fields automatically.
Once the form is connected, you can come back here to configure your sharing rules (how many buyers receive the same shared lead), set up segmentation rules based on form fields, and manage how your lead fields are displayed to buyers.
Step 2: Install ELD Forms and Build Your Form
Now head to your WordPress site.
Install the plugin. In WordPress, go to Plugins → Add New and search for “Easy Lead Distribution.” Install and activate Easy Lead Distribution Forms. You can also get it from the plugin page.
Build your form. Go to ELD Forms → Add New. The editor shows a live preview — drag fields in on the left, watch the form update in real time on the right. Add the Name, Phone, and Email fields first (all three are required for every lead), then any qualifying fields you need: ZIP code, service type, budget, anything. The phone field comes with a country flag selector that detects your visitor’s country automatically.
You can also split long forms into multiple steps, show or hide fields based on the visitor’s answers, and pick from five visual themes — but none of that is required to go live. A simple form with the three core fields works perfectly.
Step 3: Connect the Form with Your Flow ID
In the form editor, open the Routing & delivery section, turn on ELD lead distribution, and paste the Flow ID you copied from the app. You’ll see the connection confirmed, and your form’s fields sync to the lead flow automatically — check the ELD app and you’ll find them already there, ready to rename, reorder, or use in segmentation rules.
Publish the form. Drop the shortcode into any page or post, and you’re live. The same form can also appear as a popup (triggered by exit intent, scroll, or a timer), as a sticky bar with a call-to-action button, or on its own hosted page — a clean standalone URL that’s perfect as a destination for ad campaigns.
That’s the whole integration. No mapping, no code — just paste.
What Happens After Connection
Once your form is connected, here’s what happens every time a prospect fills it out:
- The prospect submits the form on your WordPress site.
- The plugin instantly sends the lead data to your flow.
- ELD checks your distribution rules — who’s next in the rotation, whether they get exclusive or shared leads, and any segmentation rules you’ve set.
- The lead is delivered to the right buyer (or buyers) on their phone via instant notification.
- The buyer taps the notification, sees the lead details, and can call or email the prospect with one tap.
The entire process — from form submission to notification on the buyer’s phone — happens in under two seconds. No manual step, no email forwarding, no delay.
Every submission is also stored in your WordPress admin under ELD Forms → Submissions, so you always have a local record — useful for testing and as a safety net.
Connecting Multiple Forms to the Same Buyer
As you scale your lead gen operation across multiple sites and verticals, you’ll want some buyers receiving leads from more than one source. ELD handles this naturally.
When you add a buyer, you assign them to one or more flows and choose their distribution type for each — exclusive or shared. So a roofing contractor in Tampa could receive exclusive leads from your “Roofing Leads Tampa” flow and shared leads from your “Home Services Tampa” flow, all delivered to the same app on their phone. Learn how to set up exclusive and shared pricing tiers in Exclusive vs. Shared Leads: How to Price Both.
This means you can build out as many lead gen sites and flows as you want, and connect the right buyers to the right flows without duplicating anything. Each buyer has one account, one app, and receives leads from every flow you’ve assigned them to.
Connecting One Site to Multiple Flows
The reverse also works. If you have one WordPress site generating leads for different services or locations, you can create separate flows for each and connect different forms on the same site to different flows.
For example, your home services site might have a roofing form and a plumbing form. The roofing form connects to your “Roofing Leads Tampa” flow with roofing contractor buyers. The plumbing form connects to your “Plumbing Leads Tampa” flow with plumber buyers. Same site, different flows, different buyers.
Each form connects to exactly one flow — so one form, one flow, as many pairs as your business needs.
Auto-Detection of Form Fields
One thing that makes the setup smoother is field auto-detection. When you connect your form, ELD automatically detects every field in it — not just Name, Phone, and Email, but all your custom fields too.
The detected fields appear in the lead flow the moment the connection is established. From there you can rename them (so “your-name” becomes “Full Name” for your buyers), reorder them by dragging, remove any you don’t want buyers to see, and use them as segmentation criteria for routing.
You never define the field configuration manually. ELD detects it for you, and from there you customize how fields are displayed and used.
Testing Your Connection
After connecting your form, always send a test lead before going live.
Fill out the form on your WordPress site with test data. Open the ELD app and check your flow — you should see the test lead appear within seconds. If you’ve already added buyers, they’ll receive it on their phones too. You can also confirm the submission was captured under ELD Forms → Submissions in your WordPress admin.
If the test lead doesn’t appear, check these common issues:
Plugin not activated. Go to Plugins in WordPress and make sure ELD Forms is active (not just installed).
Wrong Flow ID. Double-check that you pasted the correct Flow ID. A single missing character will prevent the connection.
Form missing required fields. Make sure your form has Name, Phone, and Email fields.
Caching plugin interference. Some aggressive caching plugins can interfere with form submissions. If you’re using a caching plugin, clear the cache after installing ELD Forms and try again.
Getting Started
The whole process — creating a flow, installing the plugin, building your form, connecting it, and sending a test lead — takes less than five minutes. Here’s the quick version:
- Create a lead flow in the ELD app and copy your Flow ID.
- Install the free ELD Forms plugin on your WordPress site.
- Build your form in the live preview editor.
- Open Routing & delivery, turn on ELD lead distribution, and paste the Flow ID.
- Submit a test lead and verify it arrives in ELD.
That’s it. Your WordPress form is now a lead distribution machine. Every submission goes directly to your buyers’ phones, automatically, in under two seconds.
Building your first lead gen site? See our guide on How to Start a Lead Generation Business.
Select your Easy Lead Distribution plan, start your free trial, and connect your first form today.
Ready to route leads automatically?
Connect your first WordPress form and start distributing leads in minutes. Try ELD free for 7 days.
Start free 7-day trial